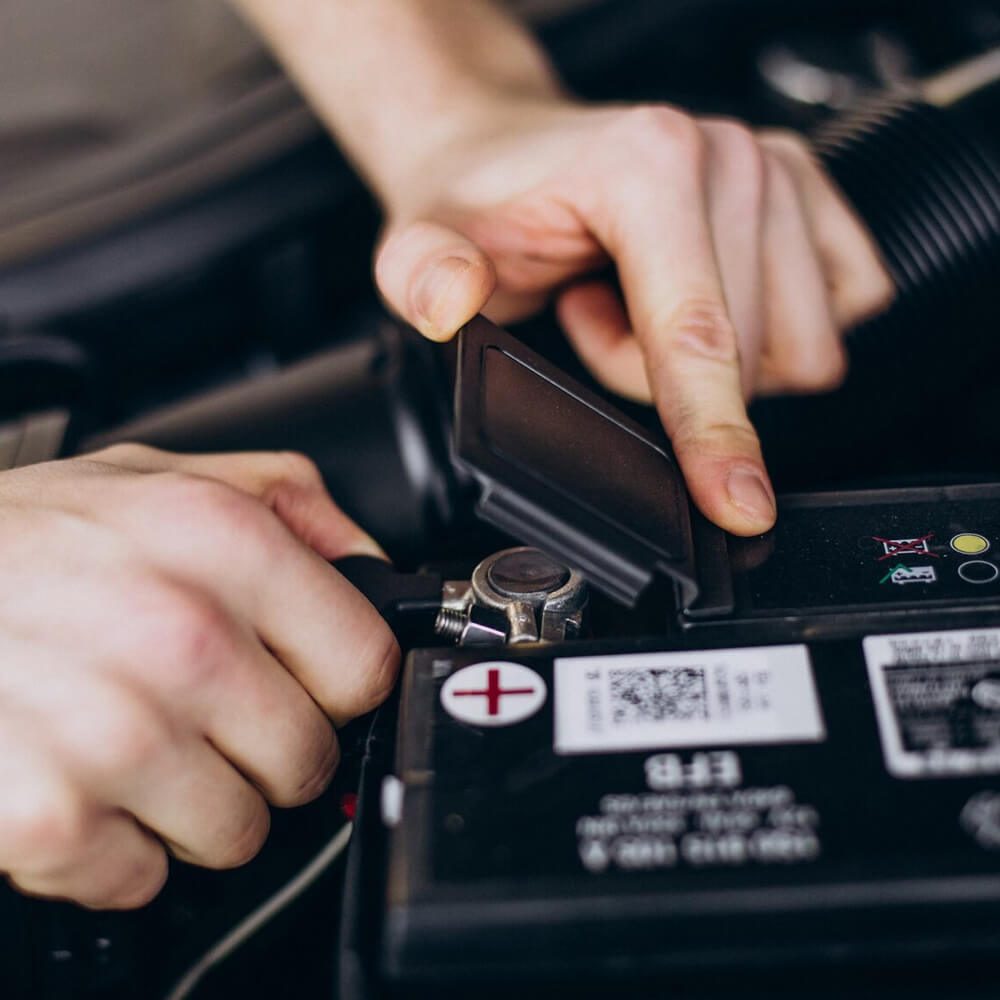
Changing a car battery can seem daunting, but with the right knowledge and tools, it becomes a manageable task. Whether you’re dealing with a dead battery or preparing for extreme weather conditions, understanding how to change a car battery is essential for every vehicle owner. This guide provides step-by-step instructions, practical tips, and innovative solutions to ensure a smooth and safe battery replacement process.
 Dead Battery DIY Rescue: 5-Tool Method Avoiding Jumper Cable Hazards
When faced with a dead battery, knowing how to change a car battery without relying on jumper cables can save you time and prevent potential hazards. Utilizing a 5-tool method ensures a safe and efficient replacement.
Essential Tools for Battery Replacement
To start, gather the following five tools:
- Wrench Set: A set of wrenches will help you loosen and tighten the battery terminals.
- Screwdriver: Useful for removing any covers or securing brackets.
- Battery Terminal Cleaner: Keeps the connections clean and free from corrosion.
- Memory Saver: Preserves your vehicle’s electronic settings during the battery change.
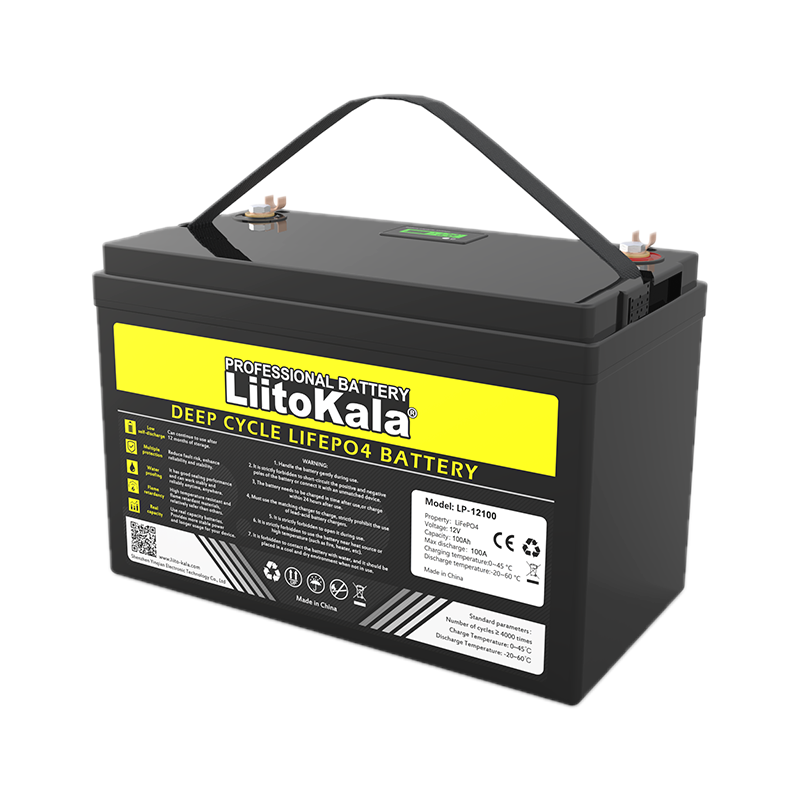
- New Car Battery: Ensure you have the correct replacement battery for your vehicle.
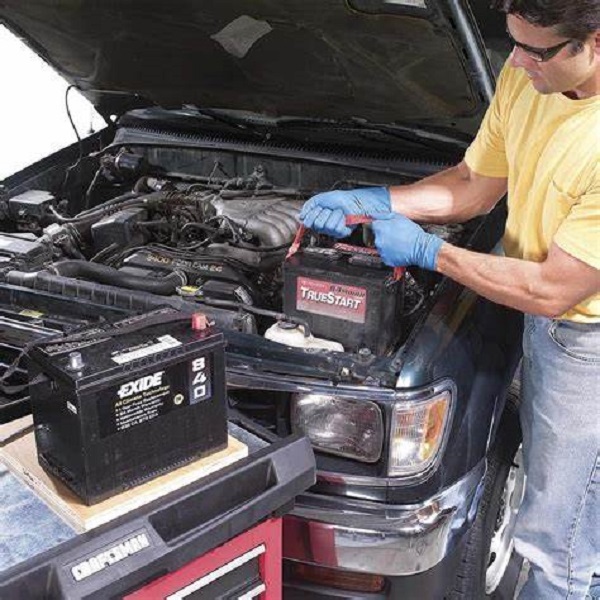
Step-by-Step Replacement Process
- Turn Off the Engine: Ensure your car is completely turned off and the keys are removed from the ignition.
- Open the Hood: Locate the battery, typically found near the front of the engine bay.
- Disconnect the Terminals: Start by disconnecting the negative (-) terminal first, then the positive (+) terminal to avoid short circuits.
- Remove the Old Battery: Carefully lift the old battery out of the tray, being mindful of its weight.
- Clean the Terminal Area: Use the battery terminal cleaner to remove any corrosion from the connectors.
- Install the New Battery: Place the new battery in the tray, ensuring it sits securely.
- Reconnect the Terminals: Attach the positive (+) terminal first, followed by the negative (-) terminal.
- Secure the Battery: Use the screws or brackets to secure the battery in place.
- Test the Connection: Start your vehicle to ensure the new battery is functioning correctly.
By following these steps, you can successfully replace a dead battery without the risks associated with jumper cables.
Winter Swap Survival: -10°F Safe Removal Without Cracked Casings
Extreme cold can complicate the process of changing a car battery. Knowing how to change a car battery in freezing temperatures ensures a successful swap without damaging the battery or vehicle components.
Preparing for Cold Weather Battery Replacement
Before attempting to change your battery in winter, take these precautions:
- Warm Up the Battery: Let your car run for a few minutes to warm up the battery, making it easier to remove.
- Wear Warm Clothing: Protect yourself from the cold by dressing in layers and wearing gloves.
- Use Insulated Tools: Prevent your tools from becoming too cold, which can make handling difficult.
Safe Removal Techniques in Cold Conditions
- Ensure the Car is Stable: Park your vehicle on a flat surface and engage the parking brake.
- Avoid Rapid Temperature Changes: Do not expose the battery to sudden temperature changes to prevent cracking.
- Use Proper Lifting Techniques: Batteries can be heavy, especially in cold weather. Lift with your legs, not your back, to avoid injury.
- Handle with Care: Cold temperatures can make battery casings more brittle. Avoid dropping or banging the battery during removal.
Replacing the Battery in Extreme Cold
Once the old battery is safely removed, follow these steps to install the new one:
- Inspect the Battery Tray: Ensure it is clean and free from ice or debris.
- Place the New Battery Gently: Avoid sudden impacts that could crack the casing.
- Secure the Battery Properly: Tighten all connections to prevent movement during your drive.
- Start the Vehicle Smoothly: Allow the engine to run for a few minutes to circulate fluids and warm up.
By following these winter-specific techniques, you can change a car battery safely even in -10°F conditions.
 Terminal Corrosion Fix: Household Items for Stuck Connector Removal
Corroded battery terminals can make removing the old battery challenging. Here’s how to use common household items to clean and remove stuck connectors effectively.
Identifying Corrosion on Terminals
Corrosion typically appears as a white, ashy substance on the battery terminals and cables. It can hinder electrical connections and make battery removal difficult.
Tools and Household Items Needed
- Baking Soda: Neutralizes battery acid and cleans corrosion.
- Vinegar or Lemon Juice: Acts as a mild acid to dissolve stubborn corrosion.
- Old Toothbrush: Helps scrub away corrosion from terminals and cables.
- Wire Brush: For more thorough cleaning.
- Protective Gloves and Glasses: Ensure your safety while handling corrosive materials.
Cleaning Corroded Terminals
- Disconnect the Battery: Always start by turning off the vehicle and disconnecting the negative (-) terminal first.
- Create a Cleaning Solution: Mix a tablespoon of baking soda with a cup of water. Alternatively, use vinegar or lemon juice for tougher corrosion.
- Apply the Solution: Pour the solution over the corroded terminals and let it sit for a few minutes.
- Scrub the Terminals: Use the toothbrush or wire brush to remove the corrosion. Ensure all residues are cleaned away.
- Rinse and Dry: Wipe the terminals with a clean cloth and dry them thoroughly to prevent future corrosion.
Removing Stuck Connectors
If connectors are still stuck after cleaning:
- Gentle Tapping: Lightly tap the connector with a hammer or tool to loosen it.
- Use a Wrench: Carefully wiggle the connector using a wrench to break the bond.
- Apply More Cleaning Solution: Reapply the baking soda or vinegar solution and repeat the scrubbing process.
Properly cleaning and removing corroded terminals ensures a smooth battery replacement process and enhances the longevity of your new battery.
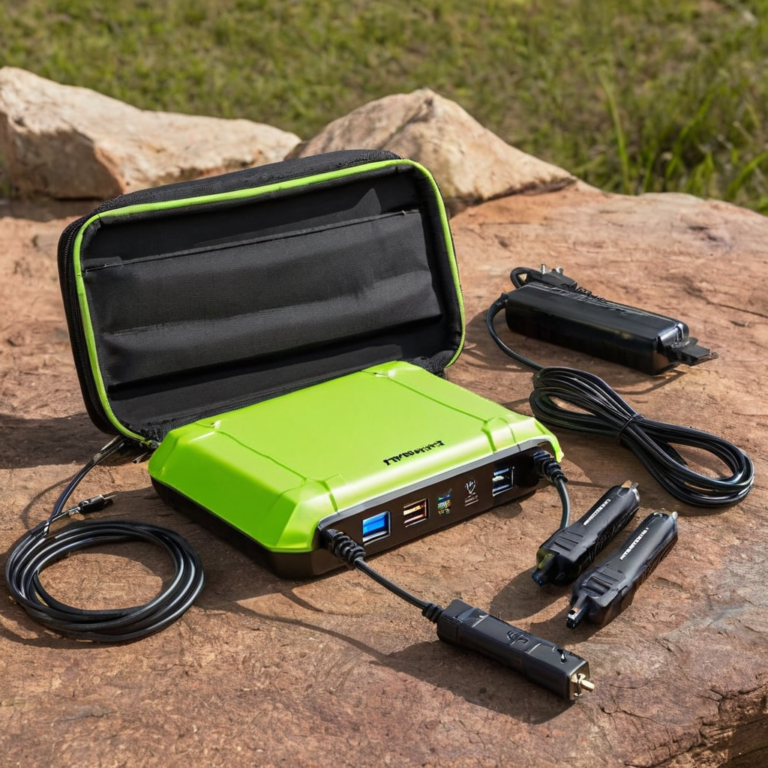
Memory Saver Shortcuts: $12 Gadgets Preserving Radio Codes Effortlessly
Changing a car battery can sometimes reset your vehicle’s electronic systems, including radio codes. Using affordable memory saver gadgets can prevent the hassle of re-entering codes after a battery change.
What is a Memory Saver?
A memory saver is a device that provides temporary power to your vehicle’s electrical system while the battery is being changed. This ensures that your radio, clock, and other electronic settings remain intact.
Choosing an Affordable Memory Saver
For around $12, you can find basic memory saver gadgets that are compatible with most vehicles. Look for features such as:
- 12V Output: Ensures compatibility with your car’s electrical system.
- Easy Connection: Simple clamps or plugs that attach directly to the battery terminals.
- Compact Design: Portable and easy to store in your trunk.
Using a Memory Saver During Battery Replacement
- Connect the Memory Saver: Attach the positive (+) clamp to the positive terminal and the negative (-) clamp to a grounded metal part of the vehicle.
- Turn On the Device: Ensure the memory saver is providing power before disconnecting the old battery.
- Proceed with Battery Replacement: Change your car battery as usual without worrying about losing your radio codes or other settings.
- Disconnect the Memory Saver: Once the new battery is installed and connected, remove the memory saver clamps.
Benefits of Using a Memory Saver
- Convenience: Avoid the need to re-enter radio codes and other electronic settings.
- Time-Saving: Speeds up the battery replacement process by eliminating post-installation adjustments.
- Affordable Protection: A low-cost investment to preserve your vehicle’s electronic memory.
Incorporating a memory saver gadget into your battery change routine ensures a seamless transition and maintains your vehicle’s electronic integrity.
 Core Charge Recovery Guide: Maximizing $20 Refunds at Auto Stores
Many auto stores offer a core charge refund when you return your old battery. Understanding how to maximize this $20 refund can save you money during your battery replacement.
What is a Core Charge?
A core charge is a deposit paid when purchasing a new battery. It is refundable when you return the old, used battery to the retailer. This system encourages recycling and ensures proper disposal of old batteries.
Steps to Maximize Your Core Charge Refund
- Purchase from Participating Stores: Ensure you buy your new battery from a retailer that accepts core returns, such as AutoZone, Advance Auto Parts, or O’Reilly.
- Keep the Old Battery: Retain the old battery until you complete the installation of the new one. This ensures you can return it for the refund.
- Inspect the Old Battery: Make sure the old battery is in a condition acceptable for the store’s return policy. Clean any excess dirt or debris if necessary.
- Return Promptly: Visit the store within the designated return period, typically 30 days after purchase, to reclaim your core charge.
- Bring Identification and Receipt: Some stores may require proof of purchase and ID for processing the refund.
- Use the Refund Wisely: Apply the refunded core charge towards future battery purchases or other automotive needs.
Benefits of Returning Your Old Battery
- Cost Savings: Reclaiming the core charge reduces the overall cost of your new battery.
- Environmental Responsibility: Proper recycling of old batteries prevents harmful chemicals from contaminating the environment.
- Convenience: Many auto stores offer easy return processes, making it hassle-free to get your refund.
By following this guide, you can effectively maximize your core charge refund, making your battery replacement more economical and environmentally friendly.
Compact Car Access Hacks: Angled Pliers for Tight Engine Bay Spaces
Working in tight engine bay spaces can be challenging, especially when dealing with battery terminals. Using angled pliers can make the process of changing a car battery more efficient and less stressful.
Why Angled Pliers are Essential
Angled pliers are designed to reach and grip objects in confined spaces where standard pliers might not fit. They provide better leverage and control, making it easier to disconnect and reconnect battery terminals.
Selecting the Right Angled Pliers
Choose pliers with the following features:
- Ergonomic Design: Comfortable handles reduce hand fatigue during extended use.
- Durable Construction: Made from high-quality materials to withstand repeated use.
- Adjustable Jaw: Allows for versatility in handling different sizes of battery terminals.
Using Angled Pliers for Battery Replacement
- Disconnect the Negative Terminal: Use the angled pliers to grip the terminal and loosen the bolt.
- Remove the Positive Terminal: Repeat the process with the positive terminal, ensuring a firm grip to prevent slipping.
- Lift the Old Battery: With the terminals disconnected, carefully lift the old battery out of the tray.
- Install the New Battery: Place the new battery in the tray and secure the terminals using the angled pliers.
- Tighten Connections: Ensure all connections are snug but avoid over-tightening, which can damage the terminals.
Advantages of Using Angled Pliers
- Improved Access: Reach tight areas with ease, making the battery replacement process smoother.
- Enhanced Grip: Securely holds terminals, reducing the risk of accidental drops or slips.
- Time Efficiency: Expedites the disconnection and reconnection steps, saving you valuable time.
Incorporating angled pliers into your toolkit ensures a more efficient and hassle-free battery change, especially in compact engine bay spaces.
 Hybrid Vehicle Precautions: Isolating 12V Systems in 10 Minutes
Changing a battery in a hybrid vehicle requires additional precautions to ensure safety and prevent damage to the high-voltage systems. Here’s how to isolate the 12V system effectively within 10 minutes.
Understanding Hybrid Vehicle Systems
Hybrid vehicles utilize both a high-voltage battery for propulsion and a standard 12V battery for accessories and electronics. Properly isolating the 12V system is crucial to avoid interference with the hybrid system.
Safety Precautions Before Battery Replacement
- Turn Off the Vehicle: Ensure the hybrid vehicle is completely turned off before starting.
- Wear Protective Gear: Use gloves and safety glasses to protect against accidental electrical contact.
- Consult the Manual: Refer to your vehicle’s owner manual for specific instructions related to the 12V and high-voltage systems.
Step-by-Step Isolation Process
- Locate the 12V Battery: Typically found in the engine bay, beneath the rear seat, or in the trunk.
- Disconnect the Negative Terminal: Using insulated tools, remove the negative (-) terminal first to prevent short circuits.
- Disconnect the Positive Terminal: Remove the positive (+) terminal carefully, ensuring no tools bridge between terminals.
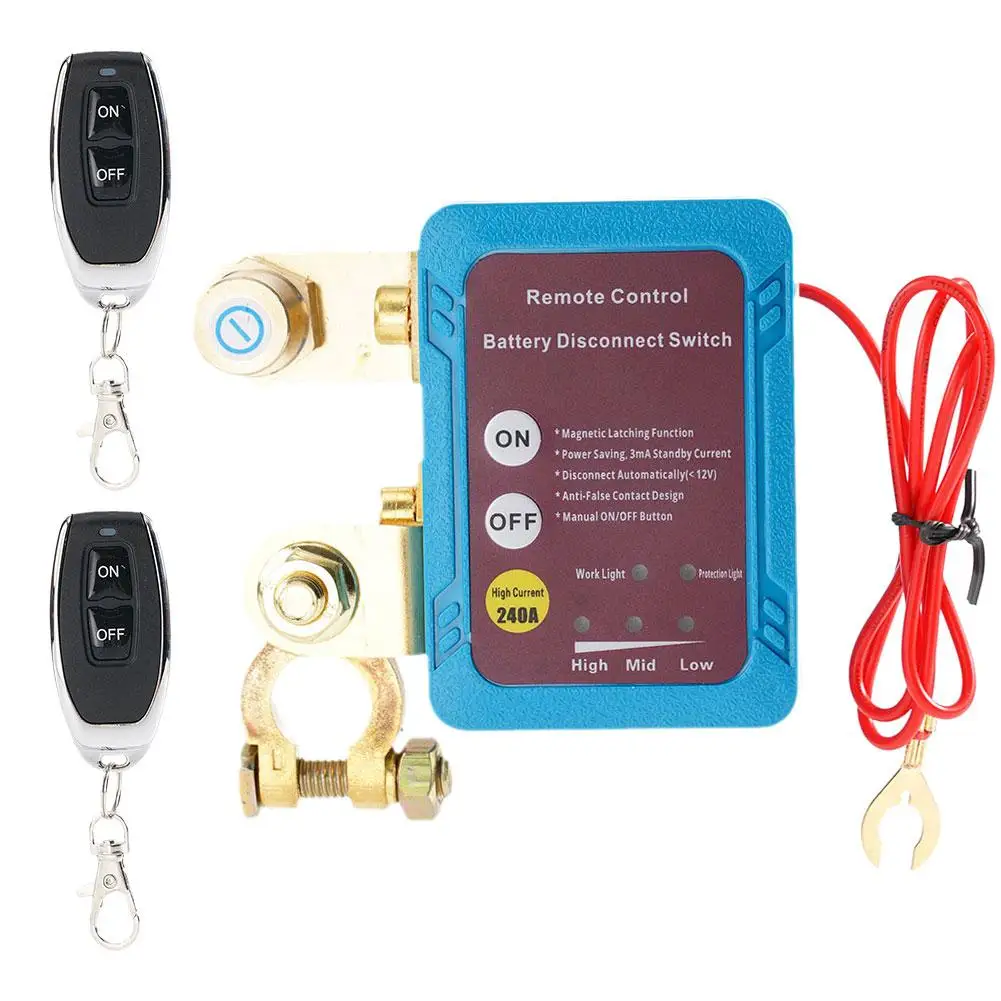
- Isolate the System: Some hybrids have a disconnect switch for the 12V battery. Engage this switch if available.
- Wait for a Safe Duration: Allow the system to fully isolate, usually taking about 10 minutes, to ensure no residual power remains.
Reconnecting and Final Checks
- Install the New Battery: Place the new 12V battery in the designated area and connect the positive terminal first.
- Reconnect the Negative Terminal: Secure the negative terminal after the positive one is attached.
- Verify System Functionality: Start the vehicle and check that all systems are operating correctly.
- Reset Electronic Settings: Some hybrids require resetting electronic settings post battery change.
Additional Tips for Hybrid Vehicles
- Handle High-Voltage Cables with Care: Avoid touching high-voltage components to prevent electrical shocks.
- Use Proper Tools: Insulated and specialized tools reduce the risk of accidental disconnections or short circuits.
- Follow Manufacturer Guidelines: Adhering to the specific procedures recommended by your vehicle’s manufacturer ensures a safe battery replacement.
By following these precautions, you can successfully isolate the 12V system in hybrid vehicles, making the process of changing a car battery safe and efficient.
 Conclusion: Mastering How to Change a Car Battery for a Smooth Ride
Knowing how to change a car battery empowers you to handle one of the most common automotive issues with confidence and ease. From rescuing a dead battery using a 5-tool method to navigating the challenges of winter swaps and hybrid vehicle precautions, this comprehensive guide covers all aspects of battery replacement. Additionally, addressing terminal corrosion, preserving electronic memory with memory saver gadgets, maximizing core charge refunds, and utilizing angled pliers in compact spaces further simplify the process. Embracing eco-friendly disposal protocols ensures you contribute positively to environmental conservation. By following these detailed instructions and tips, you can maintain your vehicle’s reliability, extend battery lifespan, and avoid unexpected breakdowns. Equip yourself with the knowledge and tools to confidently change a car battery, ensuring your vehicle remains a dependable partner on every journey.