A gas tank sealer is an essential solution for anyone dealing with rust, pinholes, or minor cracks in their fuel tank. Whether you own a classic car, a motorcycle, or garden equipment, fuel leaks can lead to performance issues, safety hazards, and costly repairs. Fortunately, modern gas tank sealers offer a reliable, cost-effective way to restore integrity without removing the tank. By forming a durable internal coating, these products stop leaks and protect against future corrosion.
Over time, moisture builds up inside metal fuel tanks. This leads to rust, especially in vehicles that sit unused for long periods. As rust eats through the metal, small holes develop. Fuel begins to drip, creating fumes and reducing efficiency. A high-quality gas tank sealer addresses this problem by bonding to the interior surface and sealing damaged areas. Therefore, it extends the life of the tank and avoids expensive replacements.
Because of its practical benefits, demand for gas tank sealer continues to grow. DIY mechanics, restoration enthusiasts, and fleet managers all rely on these products for maintenance. In addition, many sealers are compatible with gasoline, ethanol blends, and even diesel in certain cases. As a result, they serve a wide range of applications.
How to choose gas tank sealer by vehicle type 2025? This article explores how gas tank sealers work, the best types available, step-by-step application methods, top brands, and common questions. By the end, you’ll understand how to use a gas tank sealer effectively and safely.
 Why Rust and Leaks Develop in Fuel Tanks
Understanding the causes of fuel tank damage helps prevent future issues. First, condensation is a major factor. When temperature changes occur, moisture forms inside the tank. Over time, this water mixes with fuel and settles at the bottom. Consequently, steel or iron tanks begin to corrode.
Second, ethanol in modern gasoline attracts water. Most pumps dispense E10 (10% ethanol), which is hygroscopic. This means it pulls moisture from the air. As a result, phase separation can happen—where water sinks below the fuel layer. This accelerates rust formation.
Third, infrequent use worsens the problem. Vehicles stored for months allow stagnant fuel to degrade. Old gasoline breaks down into acids and gums. These substances eat away at metal surfaces and weaken seams.
Fourth, physical damage plays a role. Bumps, vibrations, and road debris can dent the tank. Even small dents create stress points where cracks may form later. Additionally, poor ventilation or clogged caps increase internal pressure. This strains welds and seams over time.
Fifth, age affects durability. Older tanks lack protective linings found in modern designs. They rely solely on bare metal, which is vulnerable to oxidation. Even coated tanks lose protection if scratched or exposed to harsh fuels.
Finally, improper storage contributes to failure. Keeping a vehicle with a near-empty tank increases air space. More air means more moisture buildup. Conversely, a full tank reduces condensation risk.
Therefore, regular inspection and preventive treatment are crucial. Using a gas tank sealer early can stop minor damage before it becomes severe. It’s a proactive step that saves time and money.
 Types of Fuel Tank Sealers and How They Work
Not all gas tank sealers are the same. Different formulas suit various materials, tank conditions, and fuel types. Knowing the differences ensures you choose the right product.
Liquid Epoxy-Based Sealers
Epoxy sealers are among the most effective. They consist of two parts: resin and hardener. When mixed, they create a strong, chemical-resistant coating. Once poured into the tank and rotated, the liquid coats every surface evenly.
As it cures, the epoxy forms a thick, durable barrier. It fills pinholes, hairline cracks, and porous areas. This type works well on steel, aluminum, and some plastics. However, the tank must be completely dry before application. Any moisture prevents proper adhesion.
These sealers take longer to cure—often 24 to 72 hours. But the result is a long-lasting fix. Many professionals use epoxy for restorations and vintage vehicles.
One-Part Solvent-Based Sealers
One-part sealers come ready to use. They contain resins dissolved in solvents that evaporate after application. The remaining film seals small leaks and protects against rust.
They’re easier to apply than epoxy. Just pour, rotate, and let dry. Curing time is shorter—usually 6 to 12 hours. Ideal for quick fixes and minor corrosion.
However, they’re less durable under constant vibration or extreme temperatures. Best suited for occasional-use vehicles or temporary repairs.
Flexible Rubberized Coatings
Some sealers use rubber or urethane bases. These remain slightly flexible after drying. This flexibility helps them withstand engine movement and thermal expansion.
They adhere well to both metal and fiberglass tanks. Also, they resist fuel swelling and cracking. Great for off-road vehicles or equipment with heavy vibrations.
Application is similar to other types. Make sure the tank is clean and free of grease. Avoid using on severely pitted surfaces unless combined with patching.
Pour-In vs. Spray-On Options
Most gas tank sealers are pour-in formulas. You add the liquid, tilt the tank to coat all sides, then drain excess. This method covers hard-to-reach areas like baffles and corners.
Spray-on versions exist but require tank removal and disassembly. They offer precise control but are labor-intensive. Typically used in professional shops during full rebuilds.
Choose based on your skill level and tools available. For most users, a pour-in gas tank sealer is the simplest option.
 Step-by-Step Guide to Applying a Fuel Tank Sealer
Applying a gas tank sealer correctly ensures lasting results. Follow these steps carefully to avoid mistakes.
Step 1: Remove the Tank or Isolate the System
First, decide whether to remove the tank. For cars and motorcycles, removal gives better access. Disconnect fuel lines, wiring, and mounting straps. Support the tank properly during removal.
If the tank stays in place, disconnect the fuel line at the pump. Plug the line to prevent spills. Ensure no fuel enters the engine during the process.
Step 2: Drain and Clean the Tank Thoroughly
Drain all fuel into an approved container. Then flush the tank with water or a cleaning solvent. Rotate and shake to loosen debris.
Next, use a degreaser or specialized tank cleaner. Scrub the interior with a non-sparking brush. Remove rust flakes, sludge, and old residue.
Rinse multiple times. Let the tank air dry completely—this may take 24 to 48 hours. Use compressed air to speed up drying. Any moisture ruins the sealer bond.
Step 3: Inspect for Major Damage
Check for large holes, deep cracks, or warped sections. A gas tank sealer only works on minor leaks. If damage is extensive, welding or replacement is necessary.
Sealers cannot fix structural failures. Attempting to do so wastes time and creates safety risks.
Step 4: Mix and Pour the Sealer
Follow the manufacturer’s instructions. For two-part epoxies, mix the components in exact ratios. Stir thoroughly to ensure uniform consistency.
Pour the mixture into the tank. Immediately begin rotating it in all directions. Tilt forward, back, side to side, and upside down if possible. This ensures full coverage.
Step 5: Cure According to Instructions
Place the tank in a warm, dust-free area. Keep it elevated so excess sealer drains out. Let it cure undisturbed.
Curing time varies. Some products need 12 hours; others require three days. Do not rush this stage. Premature use weakens the seal.
Step 6: Reinstall and Test
Once cured, reconnect all lines and electrical connections. Refill with fresh fuel. Start the engine and check for leaks.
Monitor performance over the next few days. If no drips appear, the repair was successful.
 Top Brands and Where to Buy Reliable Fuel Tank Sealers
Choosing a trusted brand improves your chances of success. Here are leading manufacturers and where to find them.
KBS Coatings – KBS Tank Sealer
KBS offers a two-part epoxy system known for durability. It resists gasoline, ethanol, and diesel. Suitable for steel, aluminum, and plastic tanks. Available on Amazon, Summit Racing, and auto specialty stores.
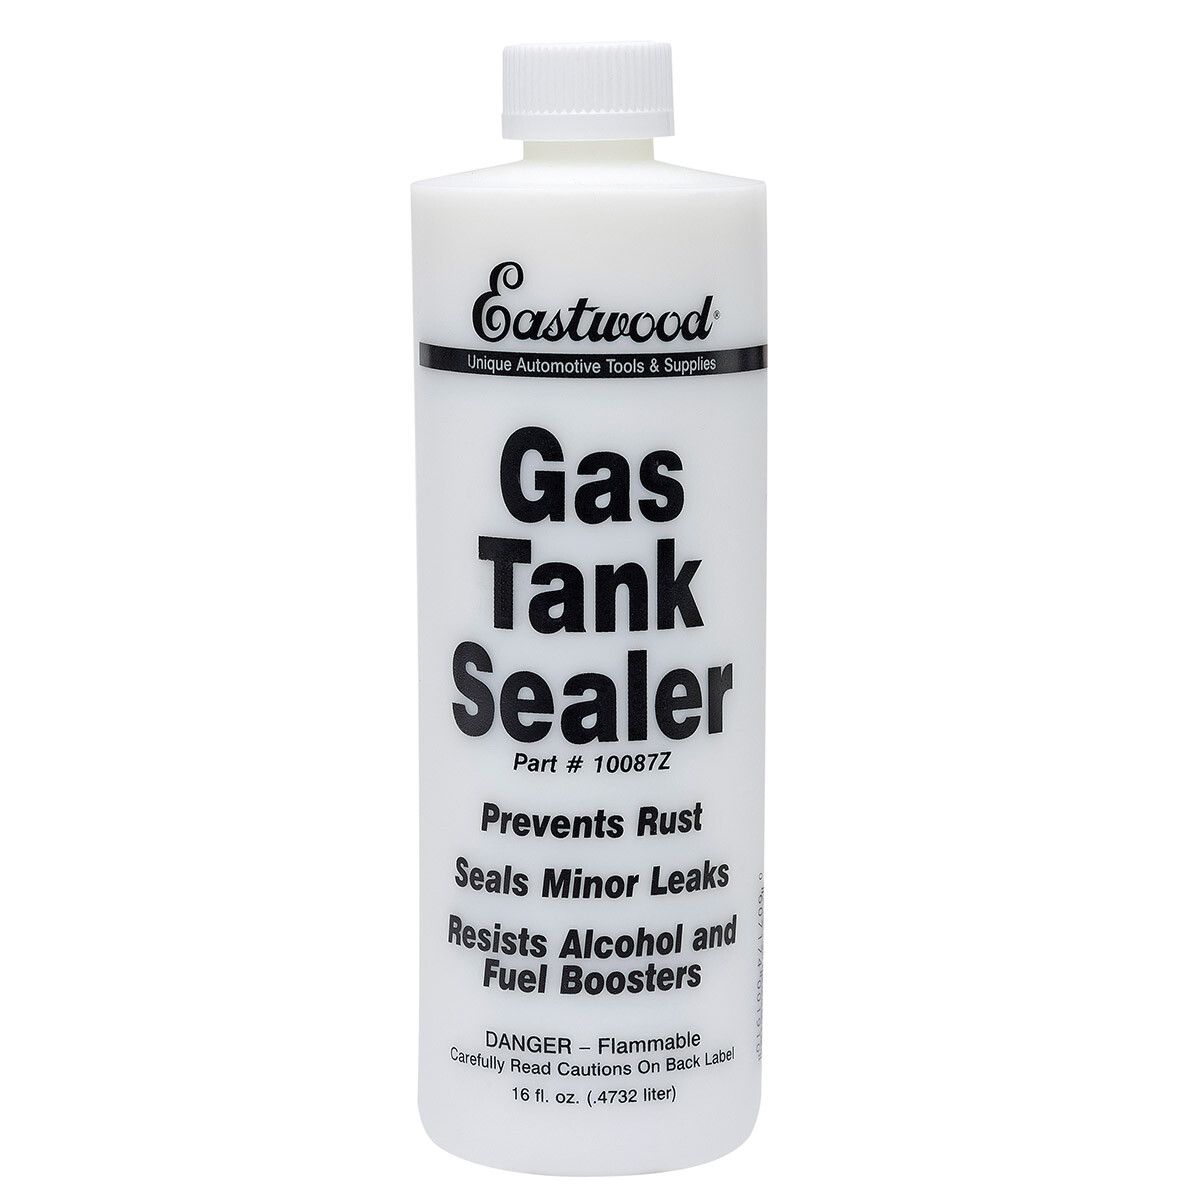
Eastwood – Fuel Tank Sealer
Eastwood provides a one-part epoxy formula. Easy to use and fast-drying. Popular among DIY restorers. Sold through their website and major retailers.
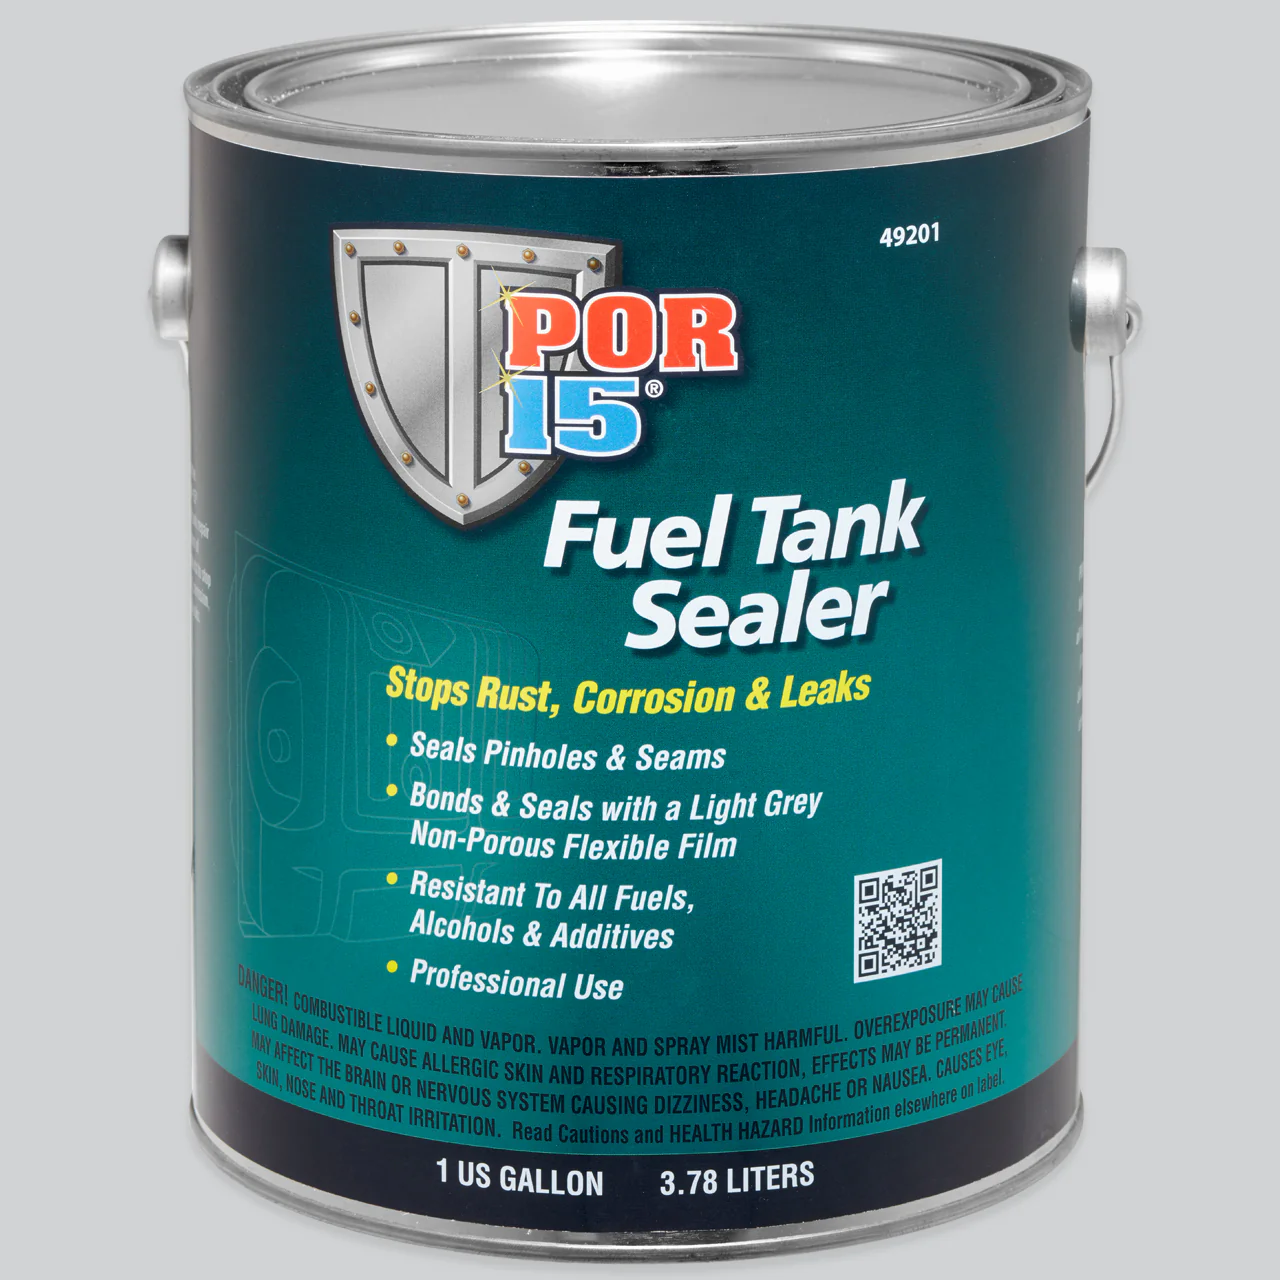
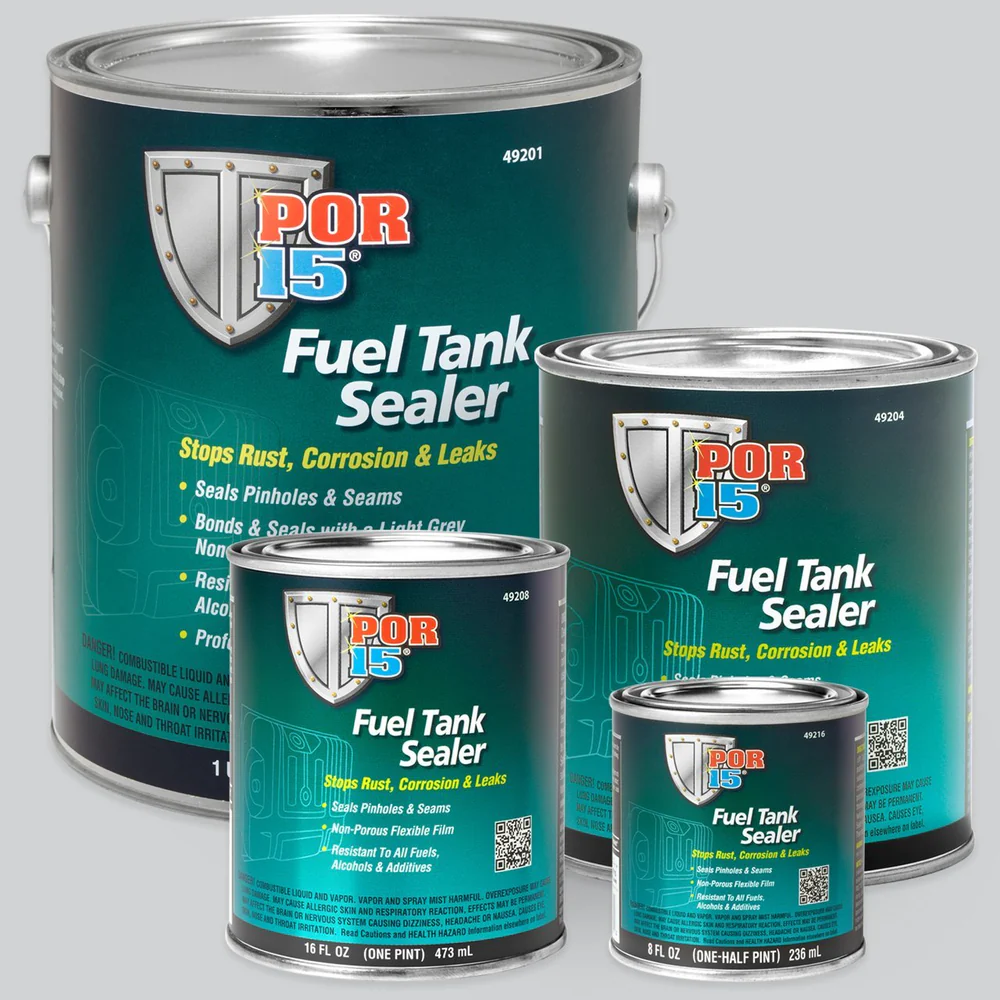
POR-15 – Fuel Tank Sealer
POR-15 uses a moisture-cured technology. It bonds strongly to clean metal. Requires complete dryness before application. Found on eBay, AutoZone, and independent shops.
Lincoln Tech-Shield
This professional-grade sealer works on various metals. Resistant to alcohol-blended fuels. Often used in fleet maintenance. Available via industrial suppliers and online marketplaces.
Permatex – Liquid Aluminum
Though not a traditional sealer, Permatex Liquid Aluminum fills small holes and threads. Useful for spot repairs before sealing. Widely available at Walmart, O’Reilly Auto Parts, and hardware stores.
When buying, check compatibility with your fuel type. Read customer reviews for real-world feedback. Look for kits that include cleaning agents and brushes.
Avoid cheap, unknown brands. Poor-quality sealers may dissolve in fuel or fail prematurely. Invest in a proven product for long-term reliability.
Frequently Asked Questions About Fuel Tank Sealer
Many users have concerns before starting a sealing project. Below are common questions answered clearly.
Can I use a gas tank sealer on a plastic tank?
Some formulas work on specific plastics. Always check the label. Not all sealers are compatible with polyethylene or composite materials.
How long does a sealed tank last?
With proper prep, a good sealer lasts 5–10 years or more. Results depend on usage, fuel type, and initial tank condition.
Will the sealer clog my fuel filter?
Only if applied incorrectly. Ensure full curing before refueling. Excess material should be drained before reassembly.
Can I seal a tank without removing it?
Yes, but it’s risky. Residual fuel or moisture prevents adhesion. Removal allows thorough cleaning and better results.
Is it safe for engines with fuel injection?
Yes, if fully cured. Uncured particles could damage injectors. Follow drying times strictly.
What if my tank has heavy rust?
Remove loose rust first. Sealers don’t bond to flaky surfaces. Use a wire brush or sandblasting if needed.
Can I drive immediately after sealing?
No. Wait until the full cure time passes. Driving too soon breaks the seal and causes leaks.
 Final Thoughts: Why a Quality Fuel Tank Sealer Is a Smart Investment
How to stop fuel leaks with gas tank sealer 2025? In conclusion, a gas tank sealer is a practical, affordable solution for preventing and repairing fuel leaks. It saves money, reduces downtime, and extends the life of your vehicle or equipment. Whether restoring a classic car or maintaining a lawnmower, this product delivers real value.
Because rust and ethanol-related damage are common, proactive sealing makes sense. With the right preparation and a trusted brand, you can achieve professional-grade results at home. Moreover, avoiding tank replacement simplifies maintenance and keeps projects on budget.
As fuel compositions evolve, using a compatible gas tank sealer becomes even more important. It protects against modern challenges like water absorption and acid buildup. Therefore, it’s not just a repair tool—it’s a preventive measure.
If you’ve noticed damp spots, fuel odor, or declining performance, act early. A quality gas tank sealer could be the fix you need. After all, protecting your fuel system today ensures smoother rides tomorrow.