Looking for a fun and eye-catching way to celebrate the holidays? One exciting trend is learning how to wrap your car in christmas lights. This festive decoration turns your vehicle into a glowing holiday display. It’s perfect for spreading cheer during nightly drives, visiting light shows, or surprising family and friends.
Moreover, many people use this idea for holiday parades, charity events, or simply to bring smiles to neighbors. The bright colors and sparkling glow make any car stand out. As more drivers search for unique ways to join the season’s spirit, knowing how to wrap your car in christmas lights has become a popular skill.
 Why You Should Consider Wrapping Your Car
Creating Joy While Standing Out
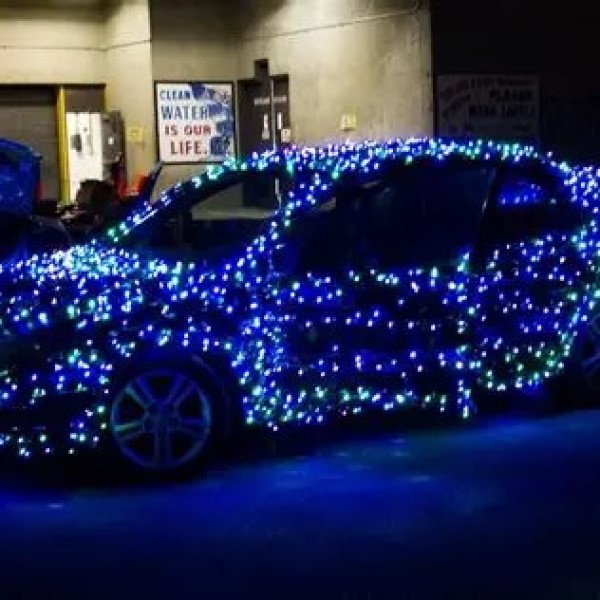
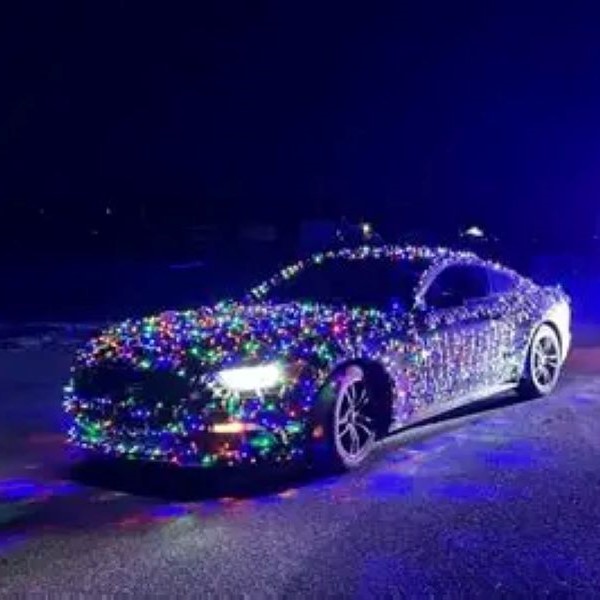
Wrapping your car in Christmas lights brings instant attention. Instead of blending in with traffic, your vehicle becomes a mobile celebration. People wave, take photos, and smile when they see it.
Also, it supports community joy. During dark winter nights, lights lift moods. Your glowing car can brighten someone’s evening. This small act spreads kindness without saying a word.
In addition, it works well for themed events. Join a neighborhood light parade. Drive through a hospital zone to cheer patients. Use it as part of a church outreach program.
Children especially love it. Kids point and cheer from windows. Some parents even follow you down the street. These moments create lasting memories.
Furthermore, it encourages creativity. Choose different colors, patterns, or music. Add a sound system that plays carols. Make your car a full sensory experience.
It also builds family bonding. Work on the project together. Assign tasks like measuring, clipping, or testing lights. Everyone contributes to the final result.
Thus, wrapping your car does more than decorate. It turns a simple ride into a meaningful holiday event.
What You’ll Need Before Starting
Gathering Tools and Materials
How to wrap your car in christmas lights? Before you begin, collect all necessary supplies. First, buy LED Christmas lights. Use mini lights or net lights depending on your design. Make sure they are weatherproof and rated for outdoor use.
Next, get extension cords if needed. Most cars don’t have power outlets outside. Use a reliable power source like a battery pack or inverter plugged into the 12V port.
Use clips to attach lights securely. Plastic light clips or magnetic holders work best. They prevent scratches and allow easy removal. Avoid nails or tape that damage paint.
Measure your car’s length and height. Estimate how many strings you need. A midsize sedan may require 50–100 feet. Larger trucks or SUVs need more.
Bring scissors, zip ties, and gloves. These help with trimming and adjusting. Wear gloves to protect hands from cold metal parts.
Check the battery life. If using an inverter, avoid draining your car battery. Turn off the lights after 30–60 minutes if the engine is not running.
Have a helper on hand. Two people make the process faster and safer. One holds lights while the other secures them.
With everything ready, you reduce mistakes and save time. Preparation ensures a smooth and successful setup.
 Step-by-Step Guide to Wrapping Your Car
Applying Lights Safely and Effectively
Start by cleaning your car. Wipe down surfaces with a damp cloth. Remove dirt and dust so clips stick properly. A clean surface protects your paint.
Then, plan your design. Decide where lights will go. Common areas include roof edges, side mirrors, bumpers, and door handles. Sketch it first if helpful.
Begin at the front bumper. Attach the first string using clips. Run lights along the grille edge. Secure every few inches to prevent sagging.
Move to the headlights. Wrap gently around the housing. Do not block lights or sensors. Safety always comes first.
Follow the hood line toward the windshield. Use flexible net lights here. They conform to curves better than rigid strings.
On the roof, run lights along the rails or edges. Avoid center sections where wind might lift them. Keep tension even across the surface.
Wrap side mirrors carefully. Clip lights around the outer frame. Never cover blind spots or cameras.
Proceed to doors and fenders. Use zip ties for tight corners. Trim excess to keep it neat.
Finish at the rear. Outline the tail lights, license plate, and back bumper. Connect all strings to the power source.
Test before driving. Make sure all lights work. Adjust any loose sections. Double-check that nothing blocks vision.
Safety Tips for Driving with Lights
Staying Visible and Compliant
Even festive lighting must follow safety rules. First, never cover headlights, brake lights, or turn signals. These are required for legal driving. Obstructing them can cause accidents or fines.
Also, avoid hanging wires too low. Loose strands might drag on the road. Wind can pull them apart. Secure all ends tightly.
Make sure lights do not interfere with moving parts. Check wipers, doors, and hoods. Open each one after installation to confirm clearance.
Use only low-voltage LED lights. They produce less heat and won’t melt plastic or rubber. This reduces fire risk.
Keep wiring away from hot engine parts. Route cords inside the cabin if possible. Use the door seals or window gaps safely.
Drive slowly in wet conditions. Water increases electrical risks. Even waterproof lights should be monitored.
Limit driving time. Long use drains the battery. Start the engine every 30 minutes to recharge.
Avoid high-speed roads. Strong winds can loosen clips. Stick to neighborhoods and local streets.
Let others know your plans. Tell passengers about short stops. Warn them not to open doors near lights.
Stay alert. Flashing lights attract attention. Watch for distracted drivers or pedestrians stepping into the road.
 Creative Design Ideas for Your Vehicle
Making Your Car Uniquely Festive
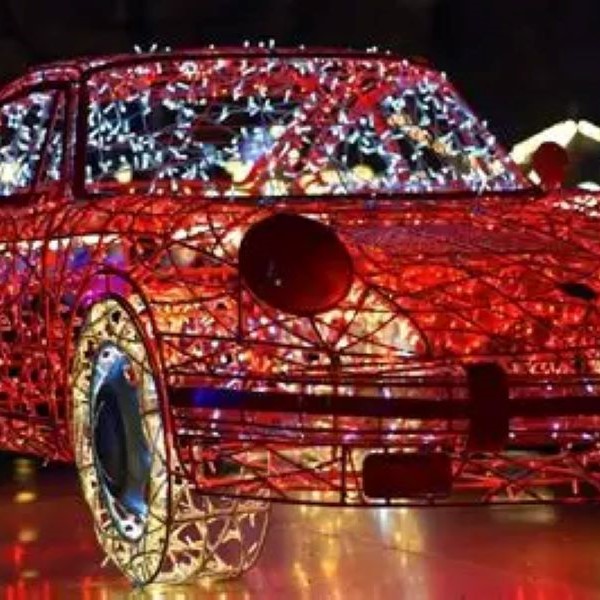
Think beyond basic outlines. Try a candy cane theme. Use red and white lights in diagonal stripes. Wrap from front to back for a bold look.
Another idea is a snowflake pattern. Place net lights on the roof. Cut shapes with black tape underneath. This creates a glowing stencil effect.
Go full team spirit. Use school or sports colors. Add pom-poms or flags to match. Great for alumni or game-day celebrations.
Add motion effects. Use twinkle-mode lights. Or alternate two colors for a flashing rhythm. Sync them to soft holiday music.
Include signs or messages. Mount a light-up star on the roof. Use rope letters spelling “JOY” or “MERRY.” Attach them to the trunk or hood.
Try color zones. Blue on top, green on sides, red on bottom. Match your home decorations for a coordinated feel.
Involve kids in design choices. Let them pick themes like reindeer or Santa. Their excitement adds meaning.
For convertibles, drape lights over the folded top. Secure with clips. This gives a soft canopy glow.
The key is imagination. Combine shapes, colors, and placements. Your car becomes a personalized holiday canvas.
Power Options and Battery Safety
Keeping Lights On Without Draining Your Car
Power management is essential. Most holiday lights plug into standard outlets. Cars lack external ports. That means you need alternative solutions.
One option is a 12V inverter. Plug it into the cigarette lighter. Then connect your light strings. Make sure the total wattage is below the inverter limit.
However, do not leave the car off for long. Running lights can drain the battery. Start the engine every 20–30 minutes. This recharges the system.
Use a portable power bank. High-capacity models support LED strings. Look for ones with AC or USB outputs. These are safer and easier to store.
Solar-powered lights are another choice. Charge them during the day. Use at night for short displays. These are eco-friendly and low-risk.
Battery packs made for camping work well. They last several hours. Many include built-in inverters. These are ideal for longer drives.
Never overload circuits. Too many strings strain power sources. Test each section before full connection.
Turn off lights when parked. Avoid accidental drainage. Set timers if available.
Monitor temperature. Cold reduces battery efficiency. Keep power units warm and dry.
Choose energy-efficient LEDs. They consume less power and last longer. This extends runtime and safety.
 Maintenance and Storage After the Holidays
Preserving Your Setup for Next Year
Once the season ends, remove lights carefully. Work slowly to avoid scratching paint. Unclip each piece gently.
Inspect every string. Look for broken bulbs, frayed wires, or bent connectors. Repair or replace damaged sections.
Clean lights with a dry cloth. Wipe off dust and salt residue. Do not wash with water unless labeled safe.
Coil each string neatly. Wrap around a cardboard spool or plastic reel. Avoid tangles for next year.
Store in labeled bins. Use clear containers for easy viewing. Include clips, adapters, and instructions.
Keep in a cool, dry place. Attics and garages can get too hot or damp. Moisture causes corrosion.
Avoid crushing heavy items on top. Protect fragile bulbs and wires. Use cushioned boxes if possible.
Check before storing. Confirm everything works. Fix issues early so setup is fast later.
Label power sources too. Note voltage and compatibility. This saves time next December.
With care, your materials last for years. A well-maintained kit makes future projects easier.
Frequently Asked Questions
Common Concerns About Wrapping Cars
Can I damage my car’s paint? Not if you use proper clips. Avoid tape or sharp tools. Clean surfaces first.
Are these lights street legal? Yes, as long as no required lights are covered. Follow local laws.
How long can I drive with them? Up to an hour with breaks. Recharge the battery often.
Do LED lights get hot? No, they stay cool. Safer than older bulb types.
Can I use solar lights? Yes, for short-term use. Not ideal for long drives.
Will insurance cover damage? Only if caused by others. Be cautious to avoid claims.
Can I wash my car with lights on? Never. Always remove them first.
These answers help users prepare safely. Clarity prevents accidents and stress.
 Summary
Why Learning How to Wrap Your Car in Christmas Lights Is Worth It
Learning how to wrap your car in christmas lights opens up a joyful and creative way to celebrate. It turns your vehicle into a beacon of holiday cheer. From family projects to community events, the impact is real.
Its popularity continues to grow. Whether used for fun, giving, or tradition, it brings people together. With proper tools and care, anyone can do it safely.
Ultimately, this activity proves that small efforts create big smiles. When you drive out lit with holiday spirit, you share more than lights. You spread warmth, hope, and the true meaning of the season.