Have you ever been driving down the road when your car starts to shake, and the engine light suddenly illuminates on your dashboard? It’s a frightening experience, but don’t panic. This article will guide you through the common causes of car shaking and the engine light coming on, and provide you with some troubleshooting tips.
Understanding the Symptoms
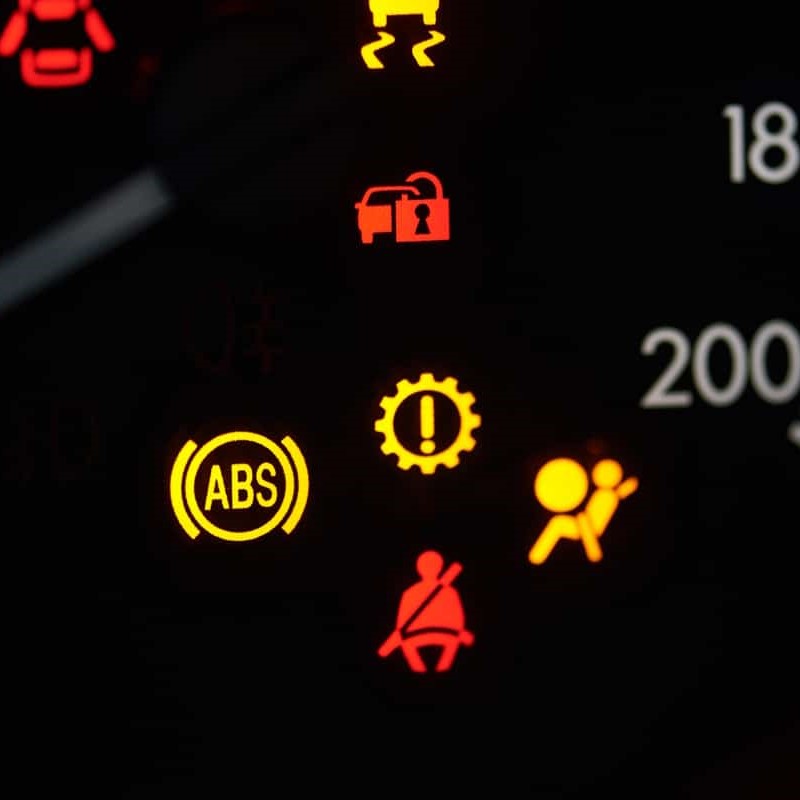
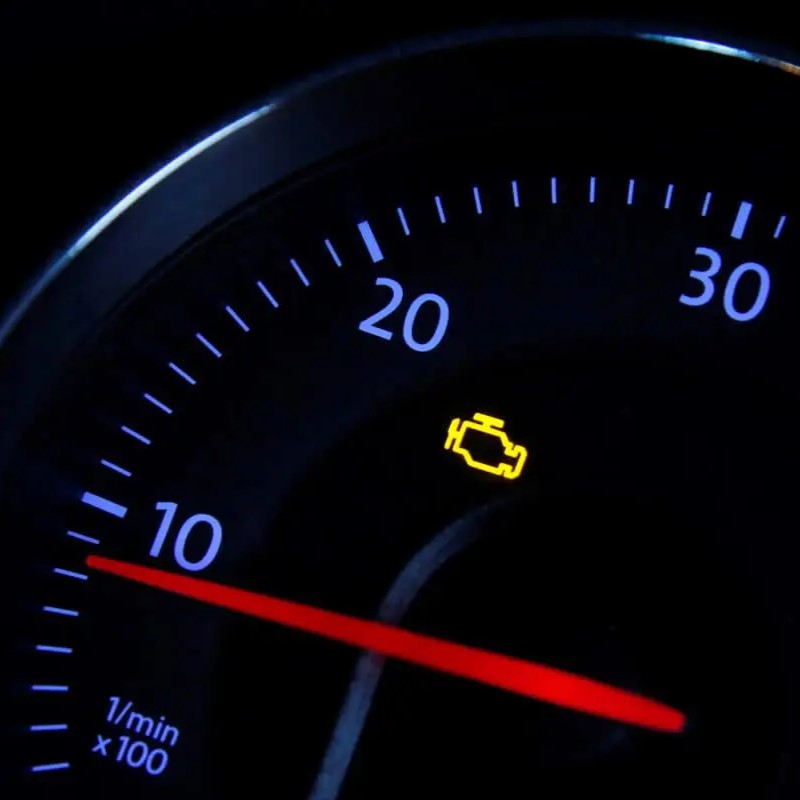
Before we dive into the causes, let’s clarify the symptoms we’re talking about. When we say “car shaking,” we’re referring to a noticeable vibration or shuddering, often felt in the steering wheel or seat. The engine light, also known as the check engine light, is a warning indicator that signals a potential problem with the vehicle’s emissions system or engine.
Common Causes and Troubleshooting
-
Spark Plugs and Wires:
- Symptoms: Misfires, rough idle, reduced power, and engine shaking.
- Troubleshooting: Inspect the spark plugs for wear, fouling, or damage. Replace them if necessary. Check the spark plug wires for cracks, fraying, or loose connections.
-
Fuel System Problems:
- Symptoms: Engine shaking, loss of power, difficulty starting, and fuel smell.
- Troubleshooting: Check the fuel filter for clogs or debris. Inspect the fuel lines for leaks or damage. If you suspect a fuel pump issue, have it tested by a mechanic.
-
Ignition Coil Problems:
- Symptoms: Misfires, engine shaking, and reduced power.
- Troubleshooting: Use a diagnostic scanner to check for misfire codes. If a specific cylinder is misfiring, the ignition coil for that cylinder may be faulty. Replace it if necessary.
-
Mass Airflow Sensor Issues:
- Symptoms: Engine shaking, rough idle, stalling, and reduced fuel economy.
- Troubleshooting: Clean the mass airflow sensor with a sensor cleaner. If the problem persists, it may need to be replaced.
-
Engine Mounts:
- Symptoms: Excessive engine vibration, especially when accelerating or decelerating.
- Troubleshooting: Inspect the engine mounts for signs of wear or tearing. Replace them if necessary.
-
Transmission Problems:
- Symptoms: Shuddering or jerking, especially during gear shifts.
- Troubleshooting: Have your transmission inspected by a mechanic to determine the specific issue.
-
Wheel Balance and Alignment:
- Symptoms: Steering wheel vibration, especially at highway speeds.
- Troubleshooting: Have your wheels balanced and aligned to ensure proper tire contact with the road.
-
Low Tire Pressure:
- Symptoms: Steering wheel vibration, uneven tire wear.
- Troubleshooting: Check your tire pressure regularly and inflate them to the recommended PSI.

When to See a Mechanic
While many of these issues can be addressed at home with basic tools and knowledge, it’s important to consult a mechanic if:
- The problem is severe or persistent.
- You’re unsure of the cause or how to fix it.
- The engine light is flashing.
- You hear unusual noises from the engine or transmission.
Testing compression and doing a leak-down test
Compression tests and leak-down tests are essential diagnostic tools for internal combustion engines. They help determine the health of the engine’s cylinders, valves, and piston rings.
- Compression Test: Measures the maximum pressure that can be built up in a cylinder when the piston is compressed. Low compression readings can indicate issues with the valves, piston rings, or head gasket.
- Leak-Down Test: Measures the amount of air that leaks past the valves or piston rings when the cylinder is at top dead center (TDC). High leak-down rates can point to problems with the valves, piston rings, or head gasket.
Equipment Needed
- Compression tester
- Leak-down tester
- Socket set
- Ratchet wrench
- Spark plug socket
- Fuel injector removal tool (if necessary)
Compression Test
- Warm up the engine: A warm engine will provide more accurate readings.
- Remove the spark plugs: Ensure each plug is removed from the corresponding cylinder.
- Attach the compression tester: Screw the compression tester into the spark plug hole.
- Crank the engine: Turn the engine over for at least 10 seconds or until the readings stabilize. Record the compression readings for each cylinder.
- Compare readings: Compare the readings for all cylinders. A significant difference in readings between cylinders may indicate a problem.
Leak-Down Test
- Attach the leak-down tester: Connect the leak-down tester to the spark plug hole.
- Crank the engine: Turn the engine over until the piston reaches TDC compression.
- Observe the leak-down rate: Watch the gauge on the leak-down tester. A high leak-down rate indicates a problem.
- Isolate the leak: To determine the source of the leak, listen for escaping air. If you hear air escaping from the intake or exhaust manifold, it may indicate a valve problem. If you hear air escaping from the crankcase, it may indicate a piston ring or head gasket issue.
Interpreting Results
- Low compression: Could indicate worn piston rings, burnt valves, or a blown head gasket.
- High leak-down rate: Could indicate worn piston rings, burnt valves, or a blown head gasket.
- Inconsistent readings: Could indicate a problem with the ignition system, fuel delivery, or engine timing.
Additional Considerations
- Fuel injector removal: If the fuel injectors are interfering with the compression test, they may need to be removed.
- Engine timing: Incorrect engine timing can affect compression readings. Ensure the timing is correct before performing the test.
- Cylinder head condition: A warped cylinder head can cause low compression and high leak-down rates.
- Professional assistance: If you’re unsure about performing these tests or interpreting the results, it’s best to consult a professional mechanic.
By understanding compression and leak-down tests, you can help diagnose engine problems and make informed decisions about repairs.
Preventive Maintenance
Regular maintenance can help prevent many of these problems from occurring. This includes:
- Changing the oil and filter regularly.
- Replacing the air filter as recommended by the manufacturer.
- Inspecting the tires for wear and tear.
- Having your vehicle inspected by a mechanic for any signs of trouble.
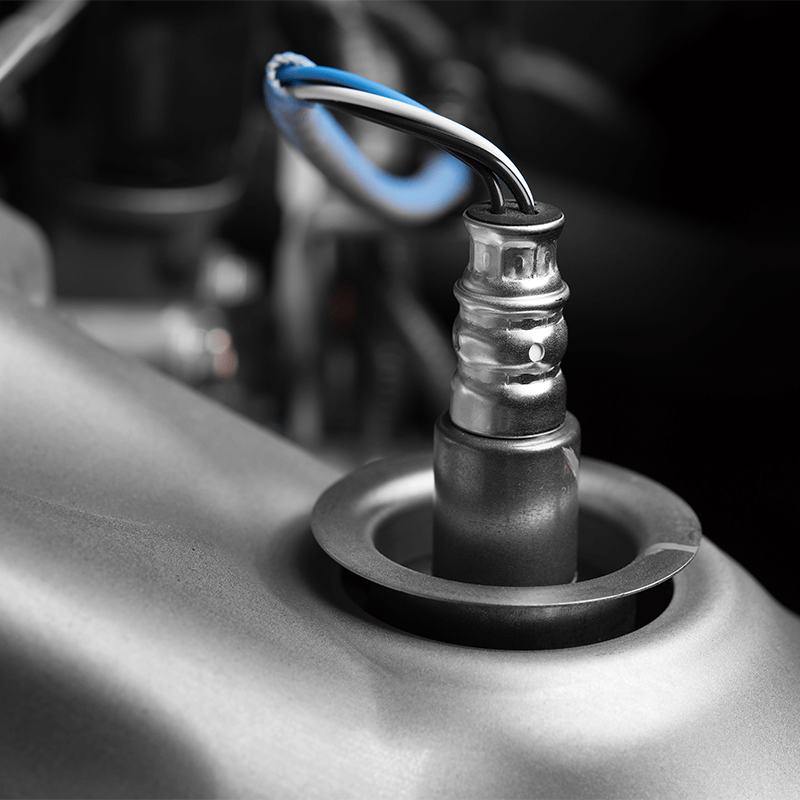
Cleaning or replacing fuel injectors
Fuel injectors are crucial components in your car’s engine, responsible for delivering fuel to the combustion chambers. Over time, they can become clogged or worn, leading to various performance issues. This article will guide you through the process of cleaning or replacing fuel injectors.
Signs of Clogged or Worn Fuel Injectors
- Reduced fuel efficiency: If you notice a significant drop in your car’s gas mileage, it could be a sign of clogged injectors.
- Rough idle: A rough idle or stalling can also indicate a problem with the fuel injectors.
- Misfires: Misfires, or the engine not firing on all cylinders, are a common symptom of clogged injectors.
- Engine hesitation: If your engine hesitates or stutters when you accelerate, it might be due to insufficient fuel delivery.
- Check engine light: A check engine light often illuminates when there’s a problem with the fuel system, including the injectors.
Cleaning Fuel Injectors
Before resorting to replacement, it’s often worth trying to clean the fuel injectors. Here are a few methods:
- Fuel Injector Cleaner: Add a fuel injector cleaner to your gas tank. These products are designed to dissolve deposits and improve fuel flow. Follow the manufacturer’s instructions for the correct dosage.
- Professional Cleaning: If the cleaner doesn’t resolve the issue, consider having your fuel injectors professionally cleaned. A mechanic can use specialized equipment to remove deposits and restore their performance.
- DIY Cleaning: For more experienced individuals, there are DIY methods involving removing the injectors and cleaning them with a specialized cleaner. However, this requires careful handling and a good understanding of engine mechanics.
Replacing Fuel Injectors
If cleaning the injectors doesn’t solve the problem or if they are severely damaged, replacement may be necessary. This is a more complex task that often requires the expertise of a mechanic.
Factors to Consider
- Cost: Replacing fuel injectors can be expensive, especially if you need to replace all of them.
- Labor: The labor involved in removing and installing new injectors can be significant.
- Warranty: Check if your vehicle’s warranty covers fuel injector replacement.
- Quality of replacement parts: Ensure you’re using high-quality replacement injectors.
Preventive Maintenance
To help prevent fuel injector problems, consider the following:
- Use high-quality fuel: Avoid using low-quality or contaminated fuel.
- Regular maintenance: Adhere to your vehicle’s recommended maintenance schedule, including oil changes and air filter replacements.
- Avoid idling for extended periods: Excessive idling can contribute to fuel injector deposits.
- Use fuel injector cleaners periodically: Add fuel injector cleaner to your gas tank as recommended by the manufacturer.
By understanding the signs of clogged or worn fuel injectors and taking appropriate action, you can help ensure your car’s engine runs smoothly and efficiently. If you’re unsure about whether to clean or replace your fuel injectors, consult with a qualified mechanic for professional advice.
Car shaking and the engine light coming on can be a stressful experience, but with a little understanding and troubleshooting, you can often identify and address the issue. Remember, if you’re unsure or the problem is severe, it’s always best to consult a professional mechanic. By following the tips in this article and practicing regular maintenance, you can keep your car running smoothly and avoid unnecessary breakdowns.